FabricAid: reusing clothes for an amazing cause

We do not realize how lucky we are, to have the ability to enter a shop, check items, and buy the item, without overthinking of the cost. So many people have to choose between a loaf of bread and a shirt to put on their back. Although you may think that making free donations can help them, they easily hurt these people’s dignity and may not even be useful for them at all, since many NGOs cannot tailor clothes per group and end up sending the same package to all the people it’s taking care of.

Luckily, a team of Lebanese students in 2016 decided to change things. They created FabricAid, an initiative that gives second hand clothes a new life, and allows underprivileged individuals to enjoy a shopping experience without worrying about the costs.

Omar Itani, a founder at FabricAid and the man behind the idea

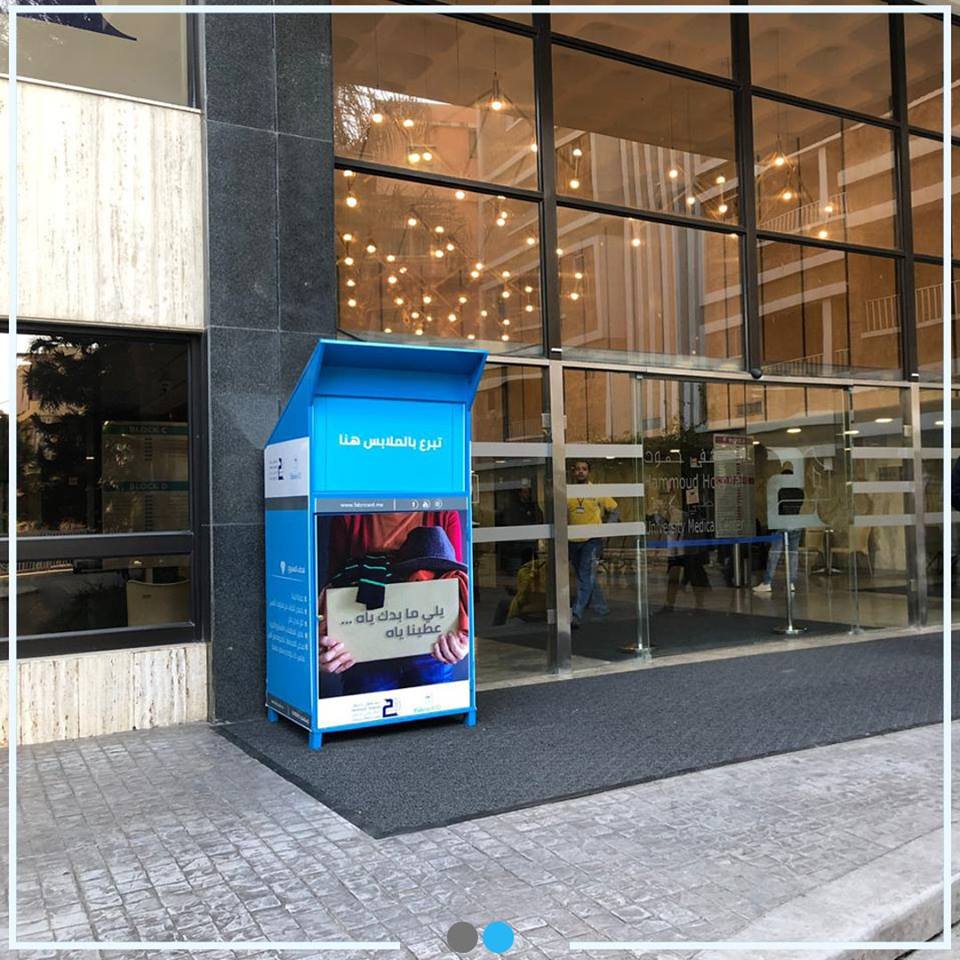
The team created a network of donation bins, and made a collaboration with businesses and NGOs to collect clothes. They check the items, select what’s in good condition to be reused, clean it up, iron it, tag it, and put it in their shops. They have pop-up markets called Souk El Khlanj and several permanent markets. Souk el Khlanj means the shop of like-new items.
The shops are located in areas where there is a high level of poverty, they are just like any other shop, with well organized merchandise and fitting rooms. The prices range between 0.3$ and 2$, so that people who have low income can shop and pay without having to worry about the bill being out of their purchasing power.

One of Home of Hope Lebanon NGO’s children choosing clothes at a shop that was set up by FabricAid as a collaboration

The items that are not fit for resale are sold in bulk to existing second-hand stores for much lower prices, or they can be used to create new items for RemAid, FabricAid’s own upcycled fashion brand. In 2018, a partnership between RemAid and ESMOD (one of the best fashion design school in Lebanon) was made, and 100 items were created by students and sold in a special event, where prices of unique clothing items made from the used fabric were between 50$ and 150$. The event was made to support FabricAid’s cause. The items were redesigned by ESMOD fashion students and sewed by Sawa for Development and Aid’s women refugee tailors.

2018’s event to exhibit the clothes made by ESMOD’s students for RemAid

This team has also been able to win multiple competitions, and is one of the few to reach over 200 000$ in funds through competitions. Their work has contributed to alleviating two major problems: clothes waste and poverty aid.

Through their amazing initiative, so far, FabricAid has been profitable, created jobs, and made great numbers:
– 55,000 Kgs of clothes collected
– 37 markets set up
– 7,000 beneficiaries
– 17 staff members
– 32,685 items sold
– 19 clothing collection bins distributed

One of the collection bins

The clothes donors are also benefiting, as every once in a while, a new partnership between FabricAid and businesses that support the cause is seeing the light. For example, Jaleesa, a babysitting business, offers discounts to its clients. All these collaborations can be found on their Facebook page, and they’re updated every once in a while.

If you are interested by their initiative, wish to make a contribution, get in contact with the team, or just wish to learn more, you can always check their website and their Facebook account. If you don’t live in Lebanon, make sure to search for similar initiatives or maybe to share the news about FabricAid to encourage others to make similar initiatives in their own communities!

Also, please don’t forget to follow my startup news on Facebook, Instagram and the Website.

Crafts tips (1)

Crafts are really fun, but a lot of resources is wasted. But sometimes, a little care can help you save your tools and keep them in a good state for longer. In this post, I will add some useful tips that helped me out:

Arts-and-Crafts-Tools-Market.jpg

  1. Bad scissors: if your scissors are no longer cutting well, they need to be resharpened. Rather than a scissors sharpener that may not be available, use sand paper: cut with the scissors the sand paper and the abrasion of the paper will sharpen them. You can use a small test paper, and keep on cutting in the sand paper until you’re satisfied. The sand paper can be cut into pieces that you can use for other projects.
  2. Spraying: you want to spray but you don’t want to ruin the covers you’re using? Opt for a cardboard box. Put the item to spray inside it, and spray it to your heart’s content!
  3. Sticky cuts: you want to cut duct tape but you don’t want to ruin your scissors? Run some baby wipes on the scissors prior to cutting, and they will not stick as much to the tape.
  4. Tape residues on scissors: if your scissors have tape or glue on them, they’re not ruined. You soak your scissors in lukewarm water for 30 seconds then open and close the scissors to get rid of the glue. Repeat as much as needed. An alcohol wiping can help you get rid of the stubborn residues.
  5. Old tape roll: if you are finding it hard to use an old tape roll, put it in the microwave for 10 seconds (make sure it doesn’t have foil in it) so that its glue will loosen up rather than stick altogether.
  6. Stained paintbrushes: paintbrushes are not that cheap if you work with high quality. To keep them in a good state, wash the bristles and the ferrule (metal tip that holds the bristles) with shampoo or soap, gently rub to keep the bristles unharmed, then rince well with lukewarm water. They need to be stored either horizontally or vertically with the bristles up.

These are few ideas and I will be adding some more soon!

Don’t forget to follow my own early stage startup news on Facebook, Instagram and the Website. Kindly consider helping me grow by liking my Facebook page, so I can reach more people!

#tips #tricks #tools #crafts #ideas #lebanon #linventif #save #maintain #simple #paint #scissors #glue #art #artist #DIY #handmade #hobby 

Super easy DIY to get rid of bad smells in a room

Looking for an easy and natural way to make a room smell better?
Fill a small ceramic bowl with coffee beans, and add a small tea candle on top. Once you light up the candle, the metallic container will heat up and the smell of coffee will fill the room. What is better is that it’s safe and you can reuse the coffee beans as long as they are giving out a smell. You just need to store the beans in a dry place.

images
What is even better is that coffee smell disturbs flies, so you can use it outdoors and on hot days during meals to keep those pesters away.

Don’t forget to follow my own early stage startup news on Facebook, Instagram and the Website. Kindly consider helping me grow by liking my Facebook page, so I can reach more people!

#idea #tip #house #home #natural #smell #organic #easy #bean #coffee#linventif
#lebanon #fresh #aroma

How to replace an old zipper

Zipper_Rescue_Diagnostic-130

You may have a few clothes laying around, waiting for the tailor to fix their zips. If you can’t find a good tailor or you don’t have the time to drop them to one, you can mend them yourself. But make sure that you are comfortable with the basic sewing skills. This project doesn’t require a very high level of sewing knowledge, but it requires some time, patience and attention.

With the following few steps, you can change your old zipper:

cf5d2d4f3bdf89703411399bb5d2208a--fix-a-zipper-zipper-repair
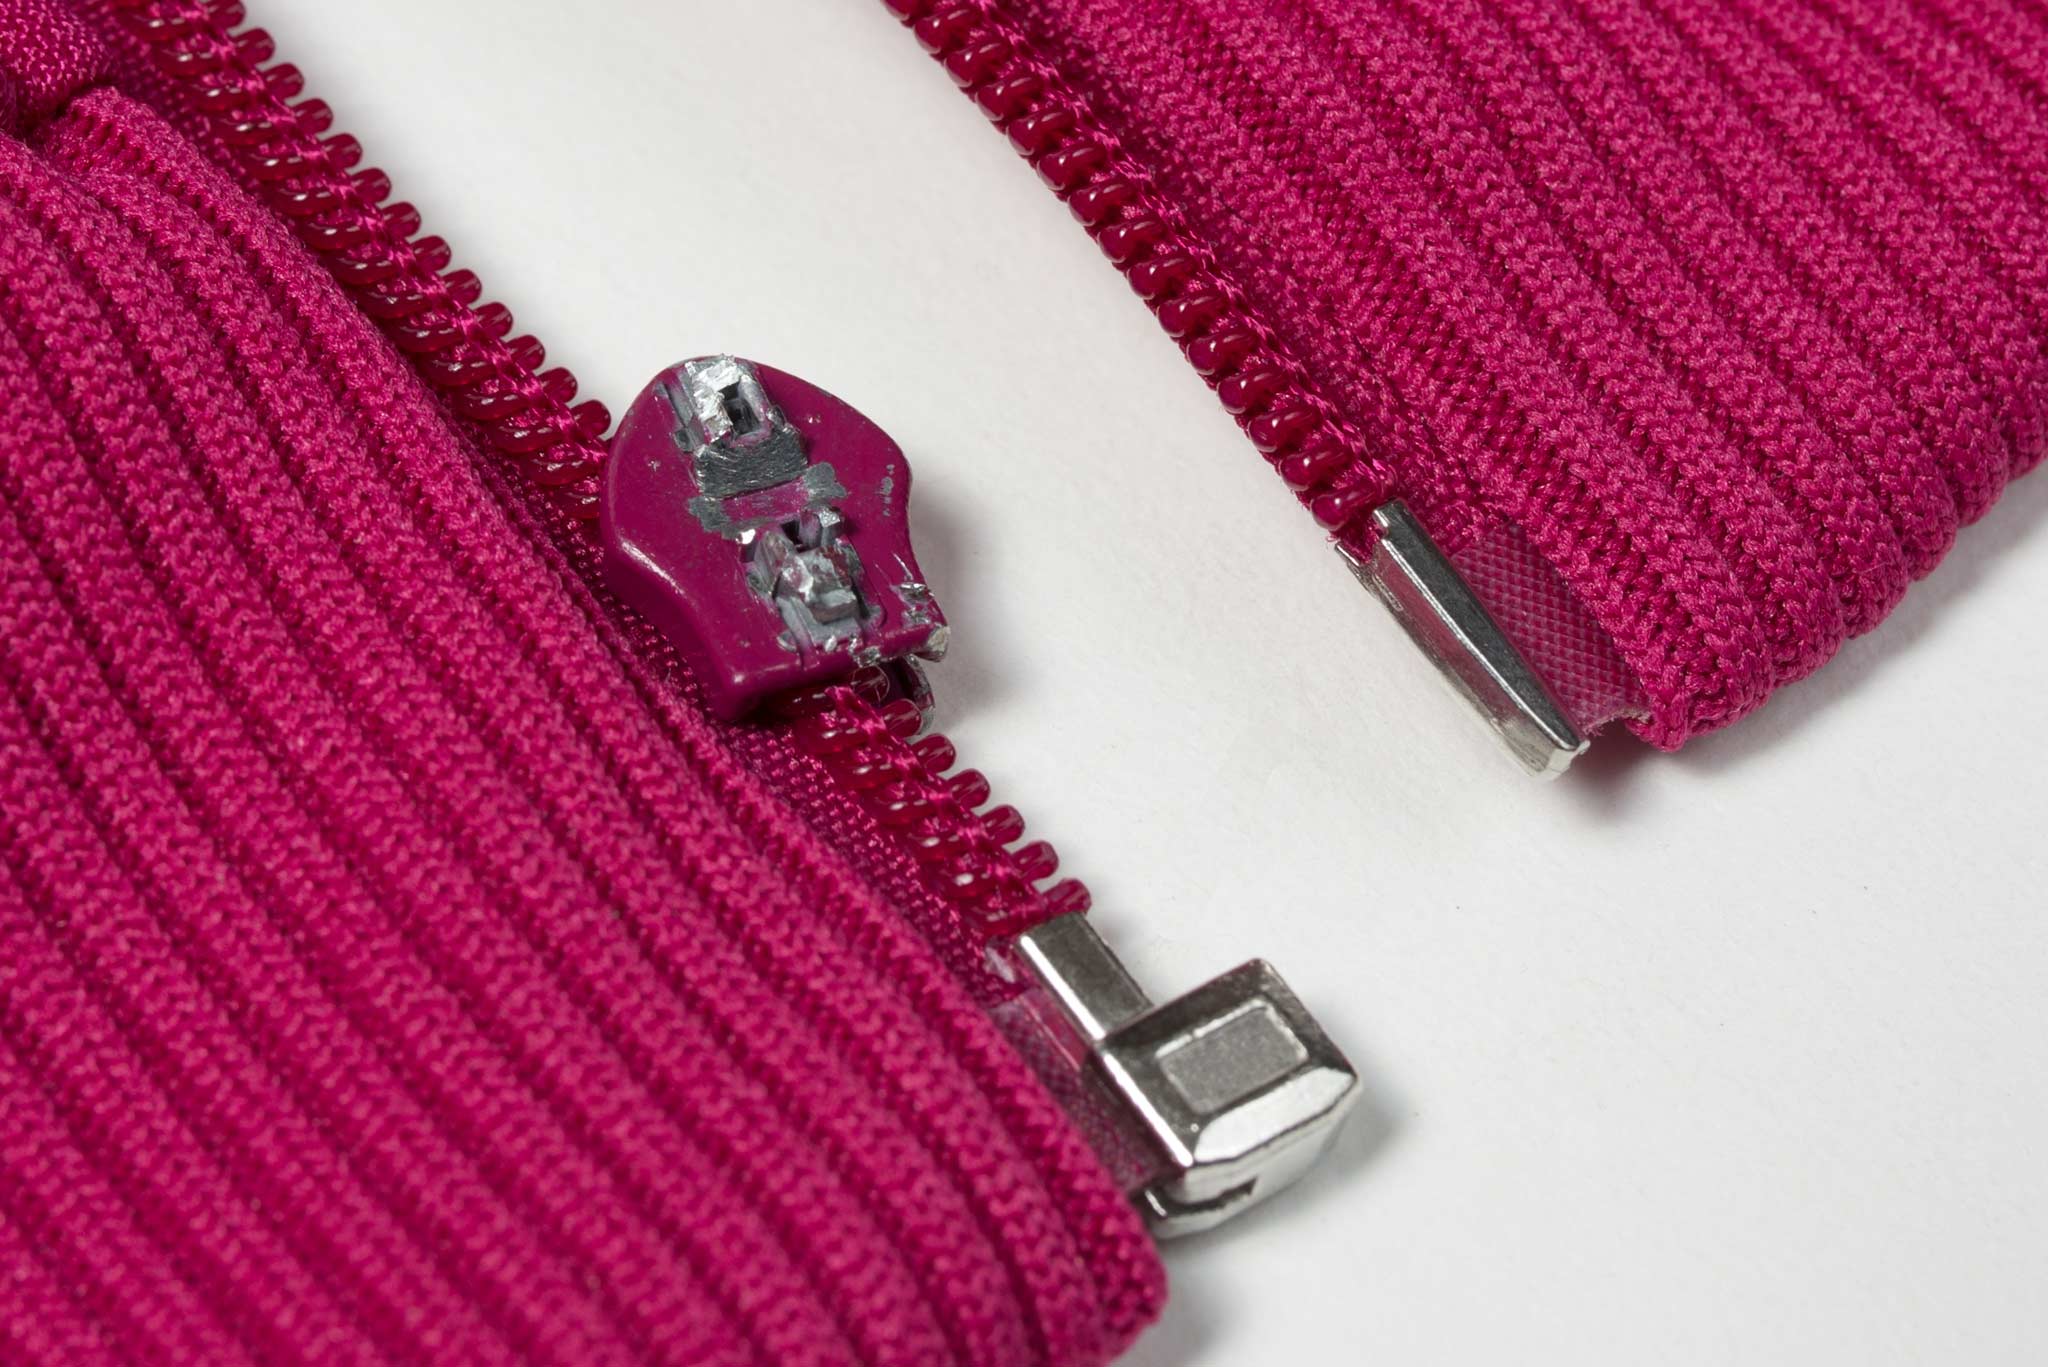
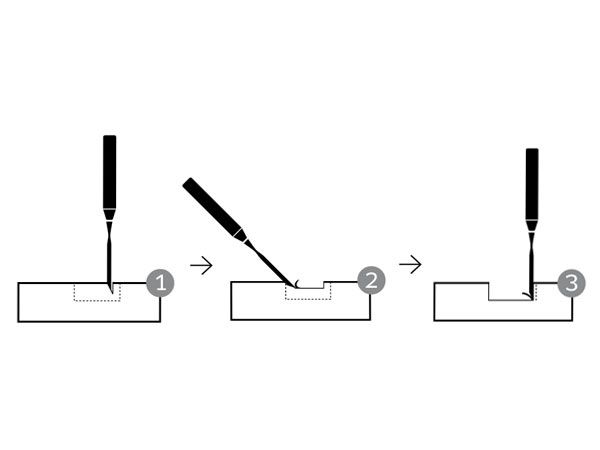
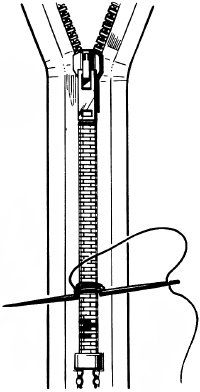
1) Choose a zipper of the same color and length of the old zipper. If you end up with a longer zipper, you can cut it from the lower part using sturdy scissors, then close its ends using a plier to hold firmly the prongs (the metal part used to close the zipper). You can sew the lower part really firmly if you don’t have prongs (check the photo). Make sure that when you cut the zipper to shorten it, the zipper is closed.

2) Remove the old zipper, but still make sure that you know where it was sewn, so that the new zipper will work correctly. Note anything you notice, even the pattern, so you can sew the zipper the same way. Use a seam ripper (the item similar to a 2 toothed fork in sewing kits) to cut the stitches holding the zipper in place. Pull gently the zipper upon cutting the stitches while holding firmly your clothe item.

3) Clean the spot from any remaining stitches or threads.

4) Position the new zipper, using needles to hold it into place. make sure that the zipper and the fabric are well stretched. Use the old zipper’s sewing linings to mark where you will be sewing.

5) Sew the new zipper into its place using a sewing machine threaded by the colored thread of your choice, preferably the same color used for the old zipper. You can sew it by hand but it will take more time and you need to be careful with the distance between each two stitches. You can use the small holes of the old zipper’s sewing as reference, putting the needle in the small holes marked by the old sewing work.

And voila! Your clothes are now as good as new!

Don’t forget to follow my own early stage startup news on Facebook, Instagram and the Website

#sewing #tip #trick #zipper #zip #handmade #diy #lebanon #linventif #mend#dontthrow
#waste #reduction #doityourself #fashion #clothes

This content is based on wikiHow‘s tips and tricks. You can find illustrations to help you by following the link https://www.wikihow.com/Replace-a-Zipper

How to use a wood chisel (English and Arabic)

The following easy steps can be followed for a clean wood chisel use:

1) Place the chisel at least 12 mm inside the cut line with the bevel (angle of work in carpentry) vertical, then strike the tool firmly with a mallet (hammer with a soft rubber tip) or a normal hammer if your chisel has a metal tip
2) Remove the wood chip by holding the chisel with the bevel facing down. Then take scooping cuts toward the vertical cut you just made
3) Finish the cut by paring down (trimming off) vertically to the line, the chisel held like a dagger,

Don’t do it all at once by removing a big wood chunk. Instead, repeat the steps from to 3 with thin cuts. The end result will be cleaner and you will find it easier to follow the lines this way.

طريقة استخدام إزميل الخشب
يمكن اتباع الخطوات السهلة التالية لاستخدام إزميل الخشب:
1) ضع الإزميل على الأقل 12 مم داخل خط القطع عموديًا ، ثم قم بضرب الأداة بقوة بمطرقة ذات طرف مطاطي ناعم أو مطرقة معدنية عادية إذا كان إزميلك يحتوي على طرف معدني
2) إزالة رقاقة الخشب من خلال لوي الإزميل نحو الأسفل و الضرب على المطرقة على مراحل للتخلص من رقاقات الخشب.
3) إنهاء القطع عبر تقليم الخشب في خط عمودي. نضعالإزميل عموديا مثل خنجر و نضربه بالمطرقة للتخلص من الخشب.
من المفضل ألا تقوم بإزالة قطعة خشب كبيرة. بدلا من ذلك ، كرر الخطوات من1 إلى 3, مزيلا على مراحل الخشب بشكل قشر رقيق. ستكون النتيجة النهائية أنظف وستجد أنه أسهل متابعة السطورالتي حددتها بهذه الطريقة.
#Tip #wood #carpentry #chisel #handywork #crafts #lebanon #linventif #procedure #work #handy #work #carpenter
(يعتمد المحتوى على النصائح المقدمة من popularmechanics.com)

#tip #wood #carpentry #chisel #handywork #crafts #lebanon #linventif#procedure
#work #handy #work #carpenter

Don’t forget to follow my own early stage startup news on Facebook, Instagram and the Website

(The content is based on tips offered by popularmechanics.com)