Feeling down sucks!

I know that feeling down sucks. I am an anxious person, prone to depression. I hate feeling down, I tried to keep it low, I tried to ignore it, and yet, it did not go away. Eventually, it was either stop myself from living, or stop my darkness before it takes over my life. You can guess what I chose. I know many suffer like me, many suffer much worse than me. I am not a psychiatrist nor a medical expert, I am merely an emotionally recovering person. So I wrote about what I am doing to get better, I hope it helps you.

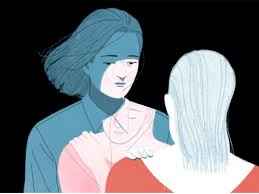
The first step is not blaming yourself for it. You shouldn’t force yourself to “feel better” just because people around you do not feel comfortable seeing you like that. You are allowed to feel sad, down, tired, and fed up. You are allowed to be angry, if you don’t feel anger and sadness, you are not being honest to yourself.

Keeping your feelings down, bubbling them up, it will lead to an explosion and a larger damage. But don’t ruminate your dark thought, you are hurting yourself, and hurting those who love you truly. Returning to the same old dark idea is similar to you running with a bungee rope: no matter how far you get, it will pull you back to zero. Cut this cord and keep it as lesson, not as If you can’t do it alone, don’t feel ashamed, seek the help of trusted people or of professionals. You are not a desperate case, you are not crazy, you are not weak, you just need an external party to see things clearer than you.

Allow yourself to give every event its worth, be sad until you feel better. But always give yourself a healing time. If you lost a loved one, grief them, but don’t grief them until you stop living, grief them and understand that it’s ok to move on. You are not cheating on them, you are not being unfaithful because they died and you are still alive. You feel anger? Use the rule of 5: will it matter in 5 minutes? 5 hours? 5 days? 5 months? 5 years? For each yes you give, allow yourself a 30 seconds of anger. If it does not matter even for the next 5 minutes, I will not say don’t be angry, but let it go after 20 seconds. Allow yourself to empty your feelings, but don’t abuse it.

If someone or something keeps upsetting you, fix it or throw it away. You are not someone to push around and abuse, and a job or item should not make you feel bad. Is social media making you feel bad about yourself? Disconnect yourself. Is your friend always negative and making you feel awful? Talk it out. If they won’t stop it, then they don’t care about you, they just want to throw their emotional baggage on you to feel better, and you’re better off without them. Is your phone always breaking and stressing you out? You either repair it or stop using it, but don’t let a pack of inert material make your life miserable.

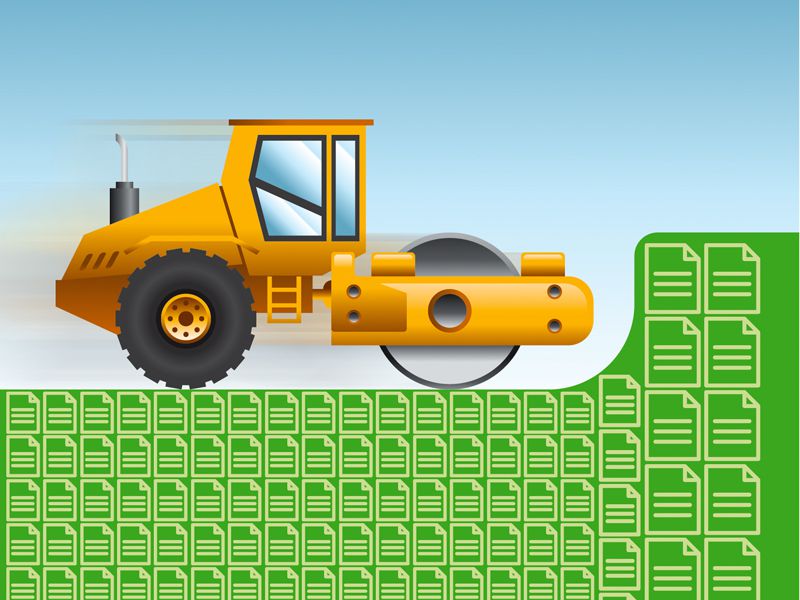
Get rid of your negative feelings by expressing them and dealing with the source of these feelings, not by repressing them. You may take a hobby, you may curse, you may cry, you may scream, you may shop, you may break a plate. It’s OK, do it. But keep 3 rules: do not hurt others, do not hurt yourself, and put a limit on the time and the resources you consecrate.

Is your private data exposed online?

Every month, we hear about data breaches on some of the most used websites. Most of the time, small data breaches also occur. Is your privacy was breached? How do you know? And what can you do?

Thankfully, there is an easy way to know. Since all services require an email and a password for you to use them, you can check your email addresses and see which ones were compromised, when, on what website, and what information could have been stolen.

How to check if your email was involved in a security breach?

maxresdefault-copy-750x403To get these information, use the website haveibeenpwned.com, put your email addresses, and check all the security breaches that affected your accounts. If you tend to change your passwords frequently, you may be safer than others. In case you forgot when was the last time you changed your passwords, it is safer to change it.

How to reduce the chances of having my data exposed?

To keep your data safe, you need to have a safe online behavior. I gathered 12 tips to help you stay safer online:

1- Do not use the emails that contain personal and/or professional details everywhere, have an email for fun, and an email for serious use.

2- Make sure to use a secondary email that is not used much, to secure your more active accounts and be able to retrieve them.

3- Do not use the same password everywhere, and make sure to change it frequently. If you are as forgetful as I am, keep a paper version of your passwords and update it regularly.

4- Check the websites you use carefully, make sure they are protected: if you see the lock icon and the https on the address bar, then the website is secure.

online-safety-icon (1)
5- If you are sending sensitive data, as soon as you are done, delete the information to avoid the details getting to others in case of any future hacking. Request from your recipient to do so as well.

6- Add the minimum number of personal details, just the essentials, when using any website.

7- Use a browser add-on to check on the safety of websites, like Avira Browser Safety, so you land less on bad websites.

8- Do not download from shady websites, and check your computer all the time for viruses and malware.

maxresdefault
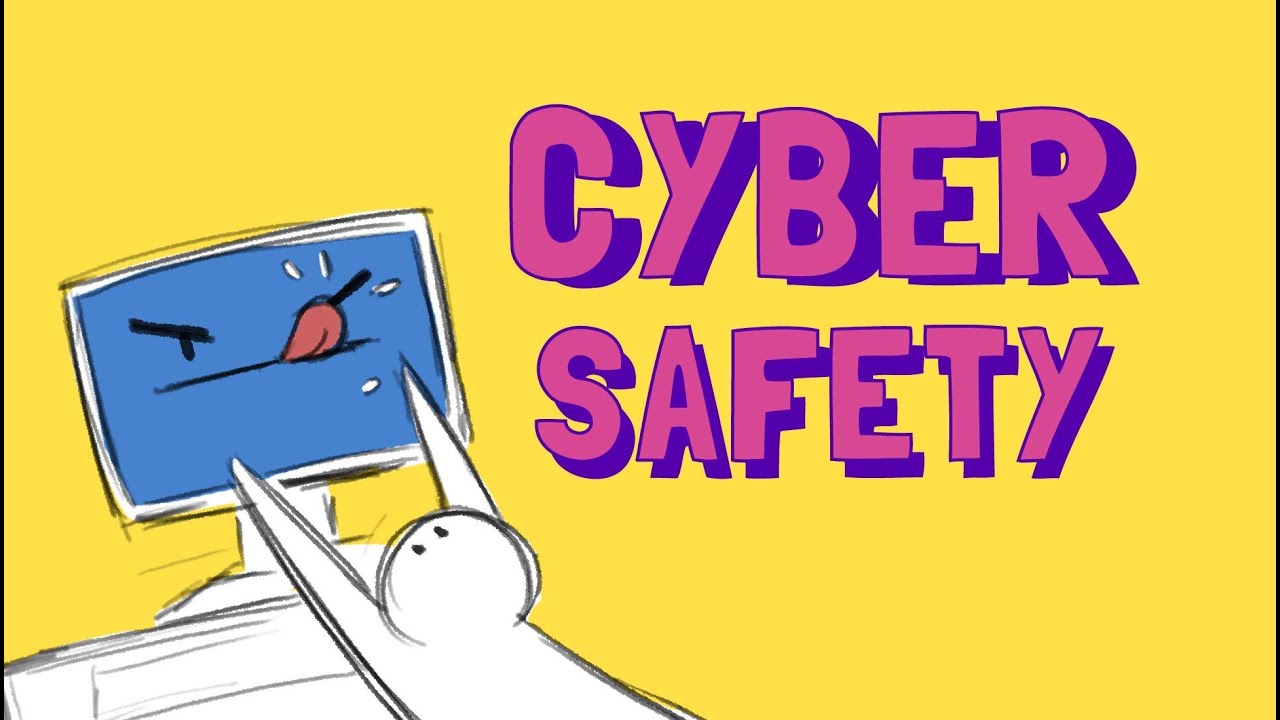
9- Pay attention to the emails you receive, too many fall for scams and download malware by downloading content from spam. Even if the email says Apple, check the email address and more often than not, it will not be sent from Apple.

10- If you can afford it, buy an antivirus, Kaspersky have great products for very reasonable prices. If you cannot buy an antivirus, at least download a good one, like Avira, Avast or AVG, update them regularly and scan at least one a week.

11- Add antiviruses to your phone as well and choose carefully the apps you download.

12- Check haveiveenpwned.com regularly to see if your emails were compromised in additional breaches of security.

I wish you a safe internet trip!

Easter eggs decoration with natural ingredients

I hate complicated methods to color eggs, I always used the coloring kits available in stores. But I realized that I may be harming myself by choosing the easy packed way, especially that in Lebanon, I did not find a natural ingredients dye kit yet. This is why I decided to find the best natural methods to color them.

Coloring Easter Eggs with Natural Dye
Although it takes more time than just popping a colors pill or using food coloring, the results are great, the ingredients are majorly cheap, and you have room to get creative and experiment

The coloring ingredients

There are hundreds of ideas out there, my favorite are onions and beetroots for the amazing colors they give. Both ingredients are also very widely used in Lebanon, and were used by families for decades. I retrieved a list of many easy to find color ingredients via Practicallyfunctional.com, shown below. They also included their recommended quantities, but you can add more or less depending on the color intensity you desire. Don’t forget that the original color of your eggs will affect the final result.

how-to-dye-easter-eggs-naturally-practically-functional-color-chart.jpg
You can use many more ingredients, like:
– well brewed camomille tea for light yellow
– strongly brewed hibiscus tea for dark green
– blueberries for a marbled blue
– Hibiscus flowers for reddish blue to lavender
– sunflower petals for pale yellow
– curry powder for pale orange
– paprika for darker orange
– chili powder for red to brown
– cranberry juice for pink to red
– undiluted pomegranate juice for pink
– frozen cherries or raspberries for pink
– simmered orange peels for light yellow
– chopped carrots for red-orange
– Frozen blueberries for grey-blue
– Spinach or parsley for green

0ee7d5d0-9c36-4f03-898a-6698309e3cd7.jpg
You can also mix between different colors and experiment to have more shades and colors.

The coloring methods

You also have either the cold dye method, which is suitable for the lighter colors and to have eggs that last longer, and you can use the hot dye method for richer deeper colors, but with over boiled eggs that last only until Easter is over.

Red-Eggs-carton.jpg

Hot dye method:

Add water, your dye ingredient and white vinegar to a pot and let them boil. The quantity of vinegar recommended is 2 tbsp of vinegar per liter (or quarter in US) of water. In addition add some salt to the mixture to help retain the color. You can also have different color shades if you use baking soda in small quantities, as it affects the acidity of certain ingredients, like cabbage, which affects the resulting color.
DSC09416.JPG
Then add eggs, allow them to boil for a few minutes, then reduce the heat to allow the pot’s content to simmer for around 15 minutes. Avoid overcooking the eggs, don’t keep them on heat for more than 30 minutes as they will be overcooked, making them edible for a shorter period.
Remove the pot away from the stove, cover it and and let it rest for an additional 15 minutes or more, depending on the depth of the color you desire.
Remove the eggs, rinse them carefully in lukewarm water, and let them air dry.

Cold dye method:

Add water, your dye ingredient and white vinegar to a pot and let them boil. The quantity of vinegar recommended is 2 tbsp of vinegar per liter (or quarter in US) of water. In addition add some salt to the mixture to help retain the color. You can also have different color shades if you use baking soda in small quantities, as it affects the acidity of certain ingredients, like cabbage, which affects the resulting color.
Simmer the mixture, covered, until the water is well colored. It takes anywhere from 30 minutes to a few hours.

1_XMe6GLYjGoJiqFt0_9O6KA.jpeg
Strain the colored water from the remains of your ingredient, let it cool.
Add you hard-boiled eggs to the colored mixture, and let it soak for as long as you see it necessary to reach your desired color. You can even keep them in the fridge overnight.

Decoration ideas

An Easter egg needs some decoration, and by using natural coloring, it is a little tricky. But if you decorate BEFORE coloring, you can end up with really cool eggs.

102283915-Dyeing-Easter-Eggs-Photo-by-Meredith-650x465.jpg
For patterns, use stickers all over the egg to create patterns, let the egg color, then peel off the stickers, You can also use ropes and tape.

BHG 1-9-1548161 Easter Egg Ideas Photo by Meredith 650x473.jpg
For natural decoration, ciaoflorentina.com recommends that you add a plant on the egg by using some water.

Colored-Eggs1-768x538.jpg

Then firmly enclose the egg in stockings and proceed with the coloring method of your choice.

eggs1.jpg  
Once you are done, you will have beautifully decorated eggs.

Easter-Eggs-1.jpg

These are few ideas, there are so many more. If you have tried other methods and they worked, please share them with me as well. I hope you have a great Easter and you enjoy decorating your eggs without worrying about toxic components.

Don’t forget to follow my startup news on Facebook, Instagram and the Website. Kindly consider helping me grow by liking my Facebook page and following my Instagram account so I can reach more people!

#color #egg #decorate #decoration #eggs #easter #natural #coloring #vegetable #plant
#fruit #dye #idea #tip #linventif #lebanon #green #notoxins #clean #red #colour #colours #yellow #blue #brown #pink #orange

Crafts tips (1)

Crafts are really fun, but a lot of resources is wasted. But sometimes, a little care can help you save your tools and keep them in a good state for longer. In this post, I will add some useful tips that helped me out:

Arts-and-Crafts-Tools-Market.jpg

  1. Bad scissors: if your scissors are no longer cutting well, they need to be resharpened. Rather than a scissors sharpener that may not be available, use sand paper: cut with the scissors the sand paper and the abrasion of the paper will sharpen them. You can use a small test paper, and keep on cutting in the sand paper until you’re satisfied. The sand paper can be cut into pieces that you can use for other projects.
  2. Spraying: you want to spray but you don’t want to ruin the covers you’re using? Opt for a cardboard box. Put the item to spray inside it, and spray it to your heart’s content!
  3. Sticky cuts: you want to cut duct tape but you don’t want to ruin your scissors? Run some baby wipes on the scissors prior to cutting, and they will not stick as much to the tape.
  4. Tape residues on scissors: if your scissors have tape or glue on them, they’re not ruined. You soak your scissors in lukewarm water for 30 seconds then open and close the scissors to get rid of the glue. Repeat as much as needed. An alcohol wiping can help you get rid of the stubborn residues.
  5. Old tape roll: if you are finding it hard to use an old tape roll, put it in the microwave for 10 seconds (make sure it doesn’t have foil in it) so that its glue will loosen up rather than stick altogether.
  6. Stained paintbrushes: paintbrushes are not that cheap if you work with high quality. To keep them in a good state, wash the bristles and the ferrule (metal tip that holds the bristles) with shampoo or soap, gently rub to keep the bristles unharmed, then rince well with lukewarm water. They need to be stored either horizontally or vertically with the bristles up.

These are few ideas and I will be adding some more soon!

Don’t forget to follow my own early stage startup news on Facebook, Instagram and the Website. Kindly consider helping me grow by liking my Facebook page, so I can reach more people!

#tips #tricks #tools #crafts #ideas #lebanon #linventif #save #maintain #simple #paint #scissors #glue #art #artist #DIY #handmade #hobby 

Super easy DIY to get rid of bad smells in a room

Looking for an easy and natural way to make a room smell better?
Fill a small ceramic bowl with coffee beans, and add a small tea candle on top. Once you light up the candle, the metallic container will heat up and the smell of coffee will fill the room. What is better is that it’s safe and you can reuse the coffee beans as long as they are giving out a smell. You just need to store the beans in a dry place.

images
What is even better is that coffee smell disturbs flies, so you can use it outdoors and on hot days during meals to keep those pesters away.

Don’t forget to follow my own early stage startup news on Facebook, Instagram and the Website. Kindly consider helping me grow by liking my Facebook page, so I can reach more people!

#idea #tip #house #home #natural #smell #organic #easy #bean #coffee#linventif
#lebanon #fresh #aroma

Do you need a sign? This is it

If you are waiting for a sign to take a step towards a different direction, this is it! We have one life, do not waste it by following goals others set for you. No matter how minuscule your dreams may sound compared to other people’s, they should be enough for you. Each step forward, even if very small, is valuable.

You are a courageous creative independent soul, you were not made to be enslaved by another being. Do not let anyone convince you that you cannot be the change or the inspiration, not even yourself. You have beauty within you, treasures waiting to be discovered, and the first adventurer should be you.

11295660_833476806707534_2679833123770992737_n

No matter in what part of life you are, don’t give up. You know what is great about hitting rock bottom? The only way to go is up. But YOU decide if you wish to remain on the bottom or you want to climb up. No one can make the decision for you, even the people who love you the most cannot do it for you, but they can support you and guide you. Do not fear asking for help, it is not a sign of weakness, it is strength to know that you don’t own all the knowledge of the world.

You can be an inventor, innovation has no gender, race or age, you can be an explorer, a pioneer, an artist. You can be all of them, if you just let them show.

You can start creating your path any day. Choose today.


#Saturday #inspiration #idea #thought #encouragement #sign #build #courage #amazing #you #hope #faith #today

How to replace an old zipper

Zipper_Rescue_Diagnostic-130

You may have a few clothes laying around, waiting for the tailor to fix their zips. If you can’t find a good tailor or you don’t have the time to drop them to one, you can mend them yourself. But make sure that you are comfortable with the basic sewing skills. This project doesn’t require a very high level of sewing knowledge, but it requires some time, patience and attention.

With the following few steps, you can change your old zipper:

cf5d2d4f3bdf89703411399bb5d2208a--fix-a-zipper-zipper-repair
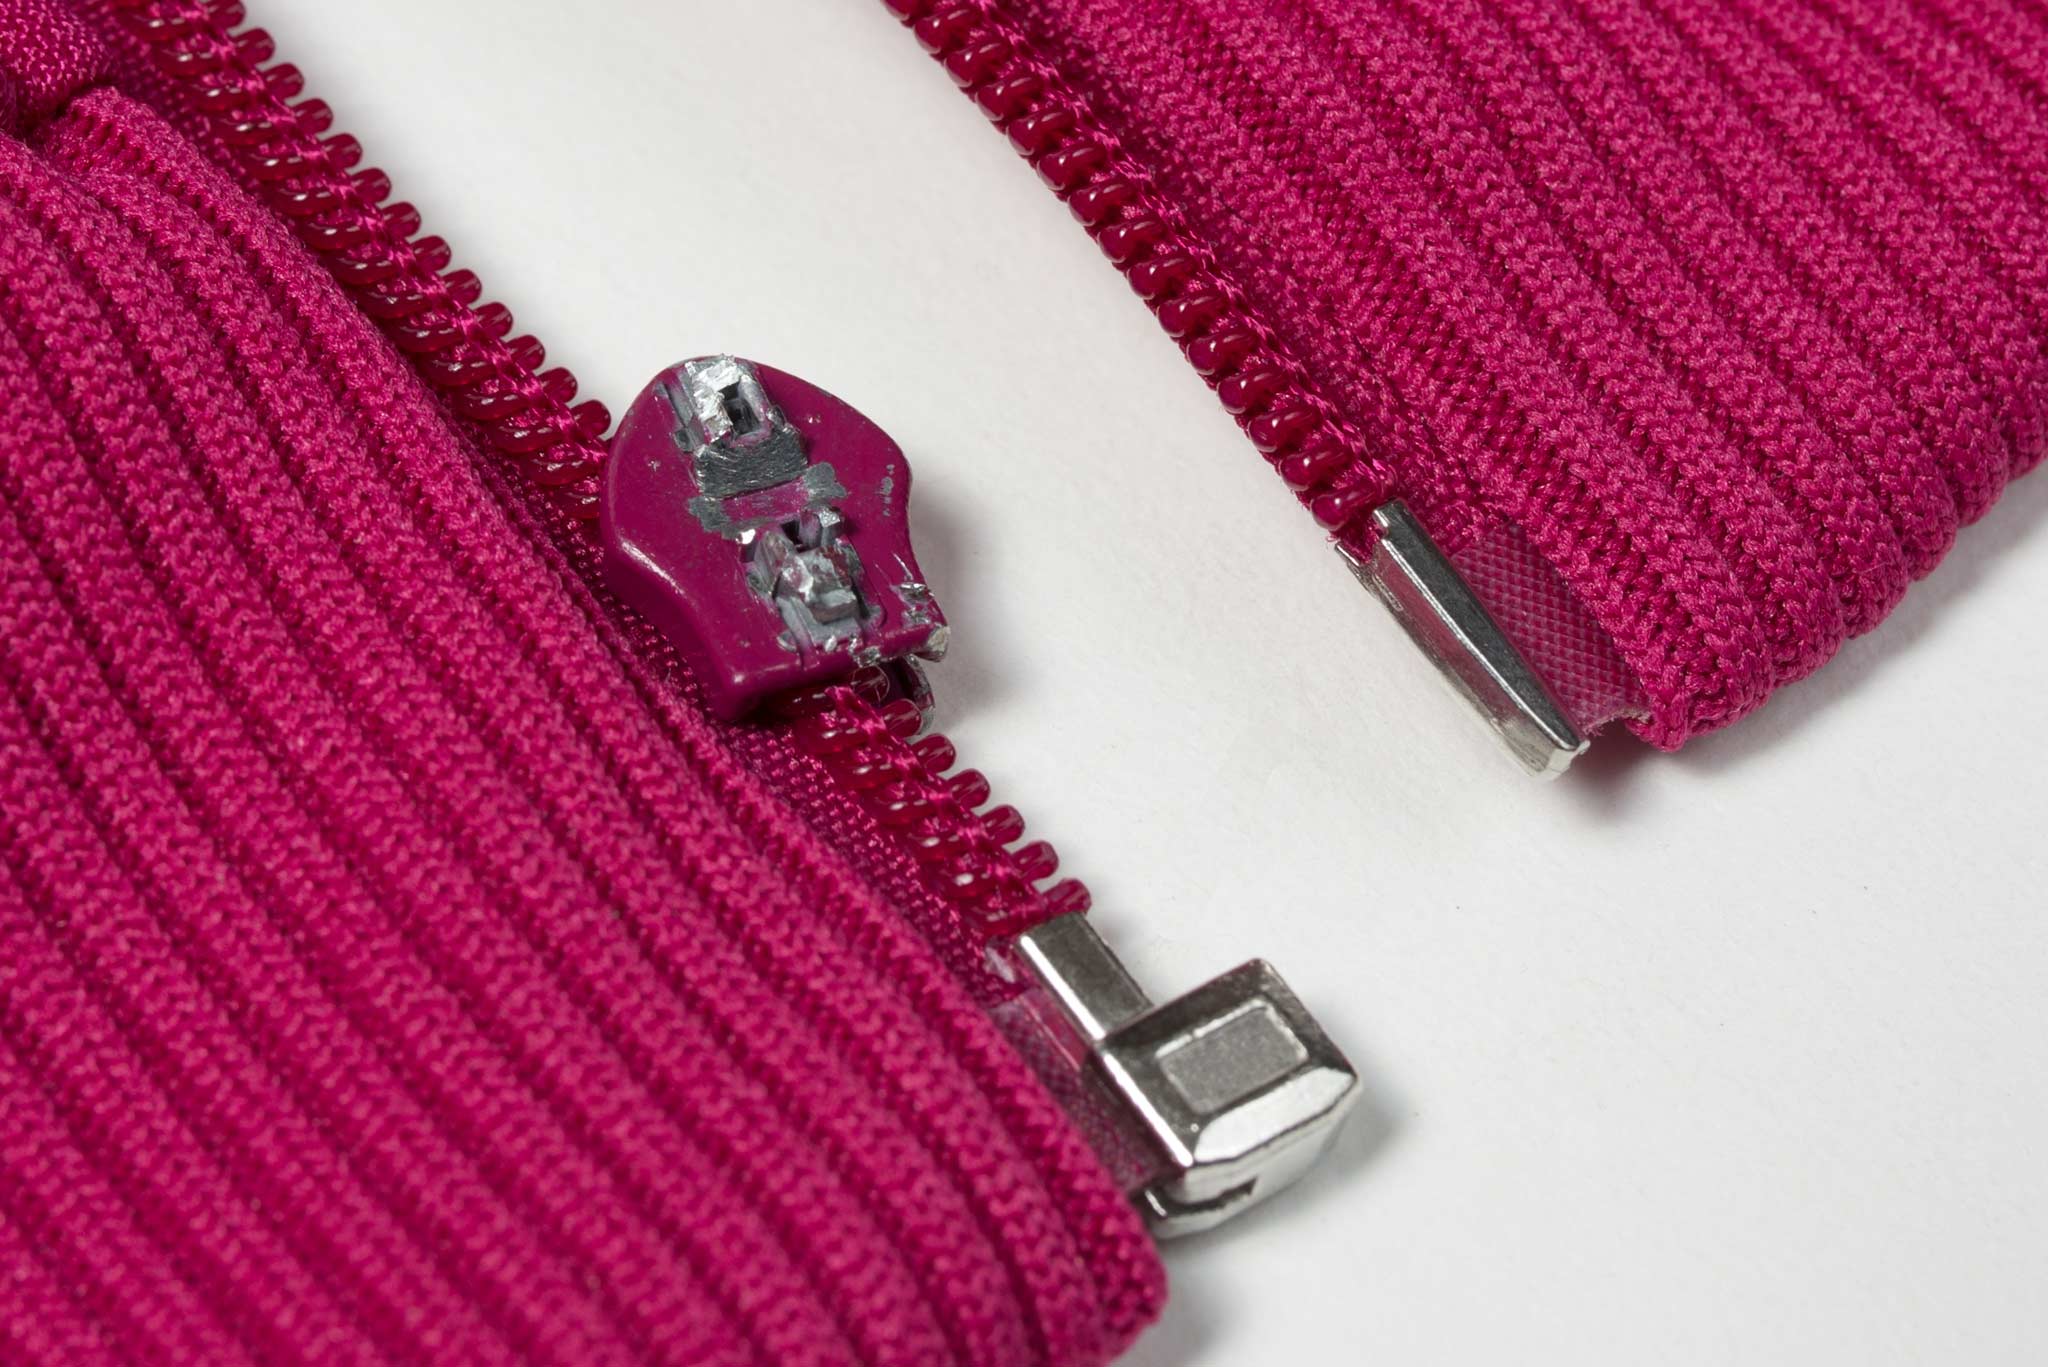
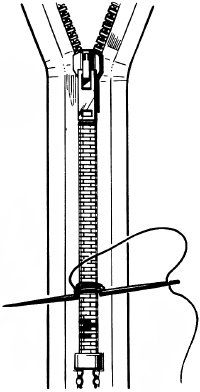
1) Choose a zipper of the same color and length of the old zipper. If you end up with a longer zipper, you can cut it from the lower part using sturdy scissors, then close its ends using a plier to hold firmly the prongs (the metal part used to close the zipper). You can sew the lower part really firmly if you don’t have prongs (check the photo). Make sure that when you cut the zipper to shorten it, the zipper is closed.

2) Remove the old zipper, but still make sure that you know where it was sewn, so that the new zipper will work correctly. Note anything you notice, even the pattern, so you can sew the zipper the same way. Use a seam ripper (the item similar to a 2 toothed fork in sewing kits) to cut the stitches holding the zipper in place. Pull gently the zipper upon cutting the stitches while holding firmly your clothe item.

3) Clean the spot from any remaining stitches or threads.

4) Position the new zipper, using needles to hold it into place. make sure that the zipper and the fabric are well stretched. Use the old zipper’s sewing linings to mark where you will be sewing.

5) Sew the new zipper into its place using a sewing machine threaded by the colored thread of your choice, preferably the same color used for the old zipper. You can sew it by hand but it will take more time and you need to be careful with the distance between each two stitches. You can use the small holes of the old zipper’s sewing as reference, putting the needle in the small holes marked by the old sewing work.

And voila! Your clothes are now as good as new!

Don’t forget to follow my own early stage startup news on Facebook, Instagram and the Website

#sewing #tip #trick #zipper #zip #handmade #diy #lebanon #linventif #mend#dontthrow
#waste #reduction #doityourself #fashion #clothes

This content is based on wikiHow‘s tips and tricks. You can find illustrations to help you by following the link https://www.wikihow.com/Replace-a-Zipper

Eat your food… and its plate

What if you could use a plate and cutlery and then eat them? You can reduce your waste and have less cleaning to do.

This is what Charbella Hosry decided to bring to Lebanon. Her company Eataplatelb offers you platters and cutlery made of wheat bran. You can use them just like any normal tableware, even heat food in the plates up to 180 degrees celsius, all without having to worry about cleaning or adding to your trash. One you are done, you can either eat the plate or just add it to your compost. It only needs 30 days to compost.

Not only is it a green alternative to plastic plates for restaurants and individuals, and a solution for super busy individuals, it is also a better option for your overall health. Wheat bran is natural, while plastic is an industrial product, and if you heat up plastic you will contaminate your food, while wheat will not. Just make sure that you do not have an allergy to wheat before using it.

If you are interested in purchasing these awesome green product, you can contact Eat a Plate Lb on
03 551 025, and follow their news on their facebook page Eataplatelb.

If you are an international reader, you can find similar products, some made of wheat and some made of corn, or bioplastic. If you really want to make a difference, so many green solution creators need your support for their products!

Don’t forget to follow my own early stage startup news on Facebook, Instagram and the Website

#lebanon #green #startup #business #food #bio #biodegradable #clean#wheat #edible #linventif #compost #healthy #bran #eataplate #lb #buy#environment #friendly #ecology #natural

How to use a wood chisel (English and Arabic)

The following easy steps can be followed for a clean wood chisel use:

1) Place the chisel at least 12 mm inside the cut line with the bevel (angle of work in carpentry) vertical, then strike the tool firmly with a mallet (hammer with a soft rubber tip) or a normal hammer if your chisel has a metal tip
2) Remove the wood chip by holding the chisel with the bevel facing down. Then take scooping cuts toward the vertical cut you just made
3) Finish the cut by paring down (trimming off) vertically to the line, the chisel held like a dagger,

Don’t do it all at once by removing a big wood chunk. Instead, repeat the steps from to 3 with thin cuts. The end result will be cleaner and you will find it easier to follow the lines this way.

طريقة استخدام إزميل الخشب
يمكن اتباع الخطوات السهلة التالية لاستخدام إزميل الخشب:
1) ضع الإزميل على الأقل 12 مم داخل خط القطع عموديًا ، ثم قم بضرب الأداة بقوة بمطرقة ذات طرف مطاطي ناعم أو مطرقة معدنية عادية إذا كان إزميلك يحتوي على طرف معدني
2) إزالة رقاقة الخشب من خلال لوي الإزميل نحو الأسفل و الضرب على المطرقة على مراحل للتخلص من رقاقات الخشب.
3) إنهاء القطع عبر تقليم الخشب في خط عمودي. نضعالإزميل عموديا مثل خنجر و نضربه بالمطرقة للتخلص من الخشب.
من المفضل ألا تقوم بإزالة قطعة خشب كبيرة. بدلا من ذلك ، كرر الخطوات من1 إلى 3, مزيلا على مراحل الخشب بشكل قشر رقيق. ستكون النتيجة النهائية أنظف وستجد أنه أسهل متابعة السطورالتي حددتها بهذه الطريقة.
#Tip #wood #carpentry #chisel #handywork #crafts #lebanon #linventif #procedure #work #handy #work #carpenter
(يعتمد المحتوى على النصائح المقدمة من popularmechanics.com)

#tip #wood #carpentry #chisel #handywork #crafts #lebanon #linventif#procedure
#work #handy #work #carpenter

Don’t forget to follow my own early stage startup news on Facebook, Instagram and the Website

(The content is based on tips offered by popularmechanics.com)